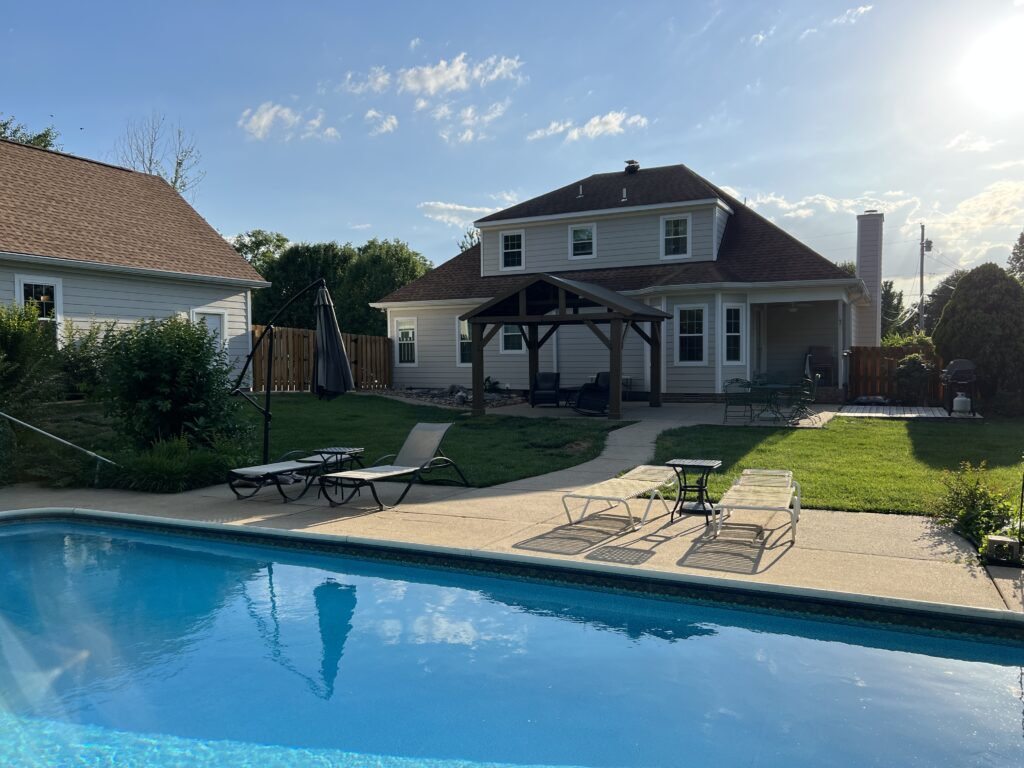
My Weather Strategies Before the Pavilion
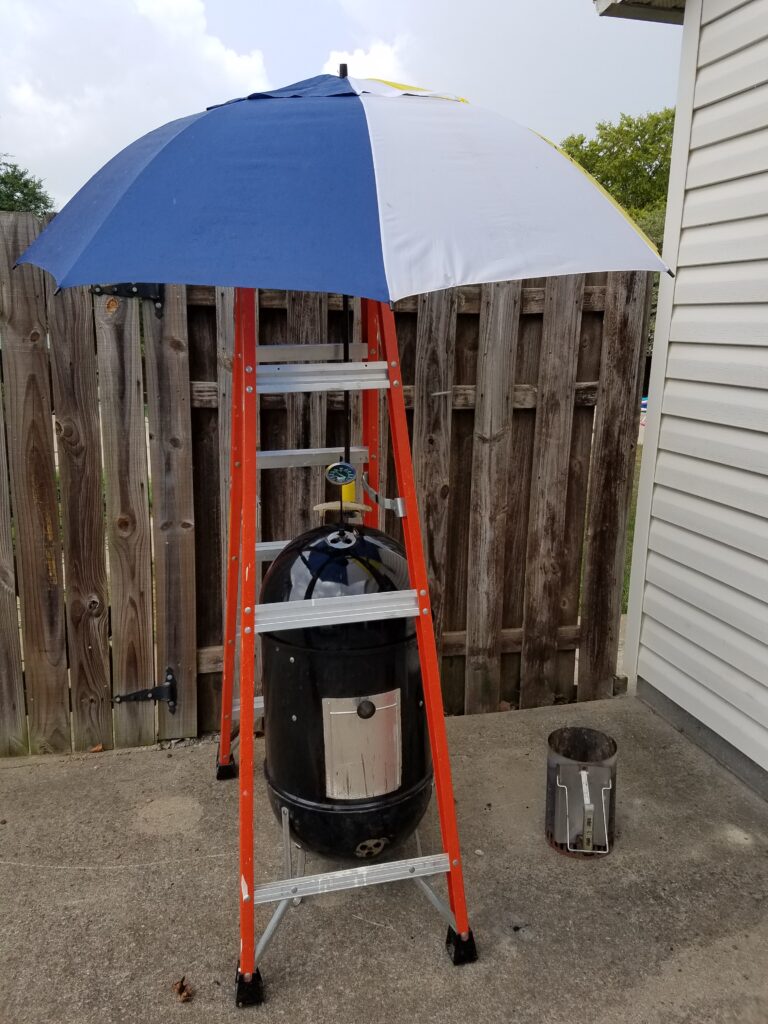
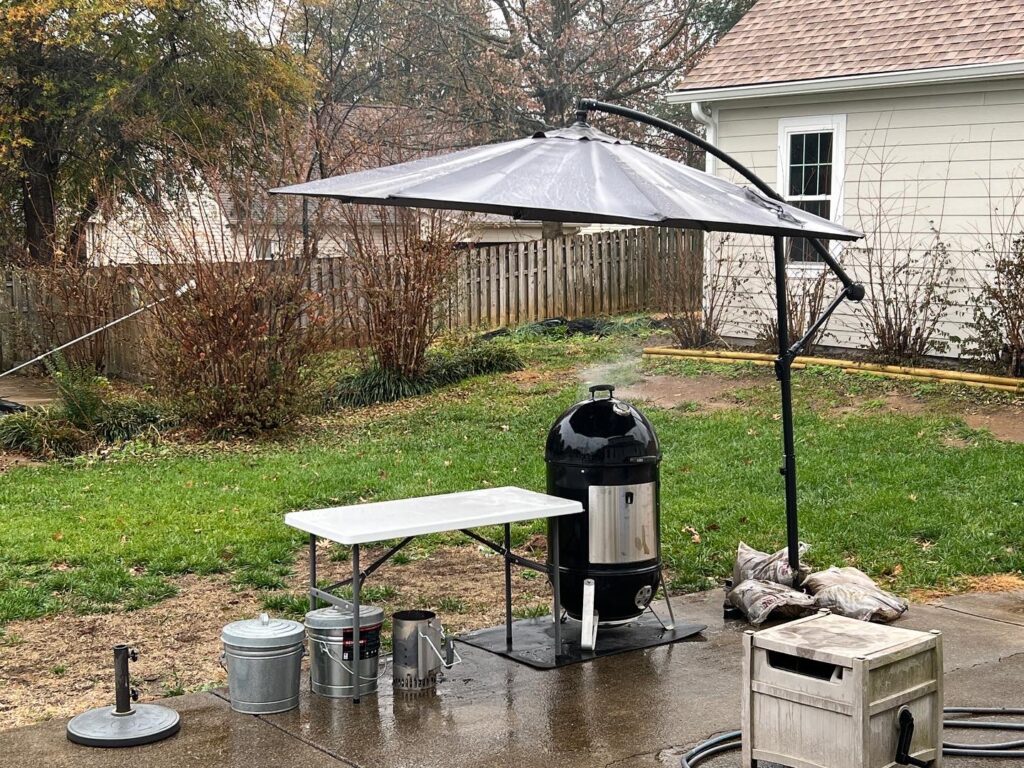
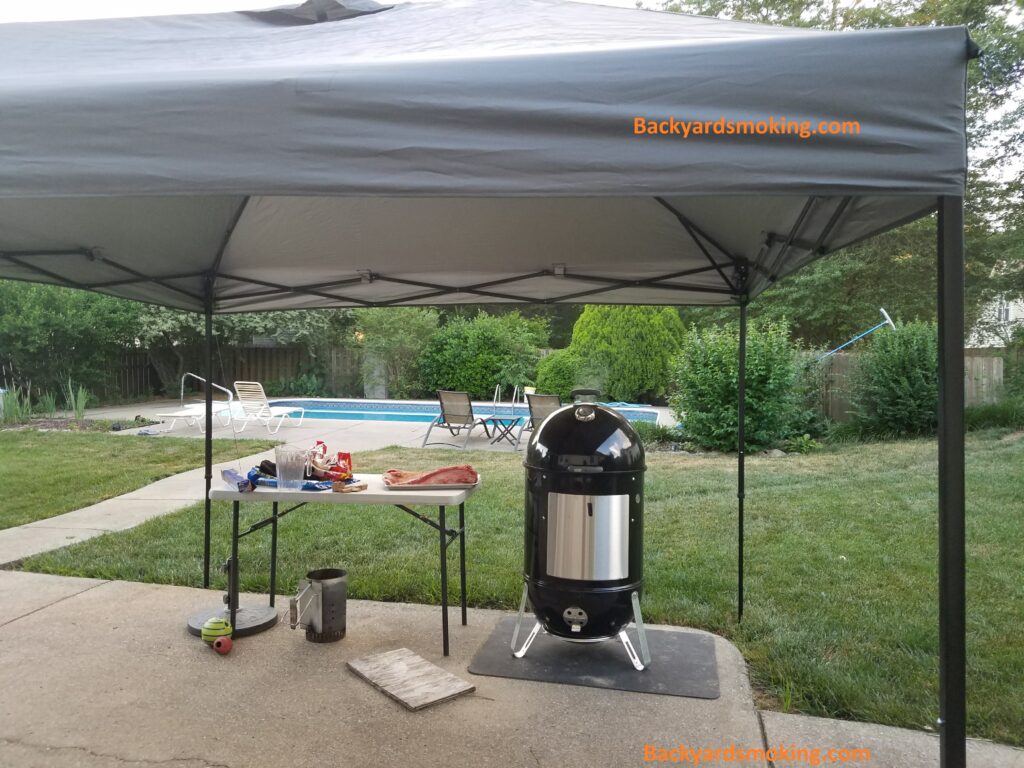
I do a lot of outdoor cooking, and I’ve used a lot of different methods for dealing with the weather over the years — before finally landing on a Costco pavilion that solved the problem for good. Sometimes it was just avoidance — choosing not to cook on days when the weather wasn’t going to cooperate. I’ve used umbrellas, and for years I used a portable pop-up canopy, until it was destroyed in the fire.” New: “I’ve used umbrellas, and for years I used a portable pop-up canopy, until it was destroyed in the fire. The canopy did a decent job, but it was only ever a temporary solution — it had to come down when the weather got really bad.
I do have a propane grill close to the house, and I still grill in almost any weather when I need to, but that was never going to work for the Blackstone or my smokers.
Deciding on Something Permanent
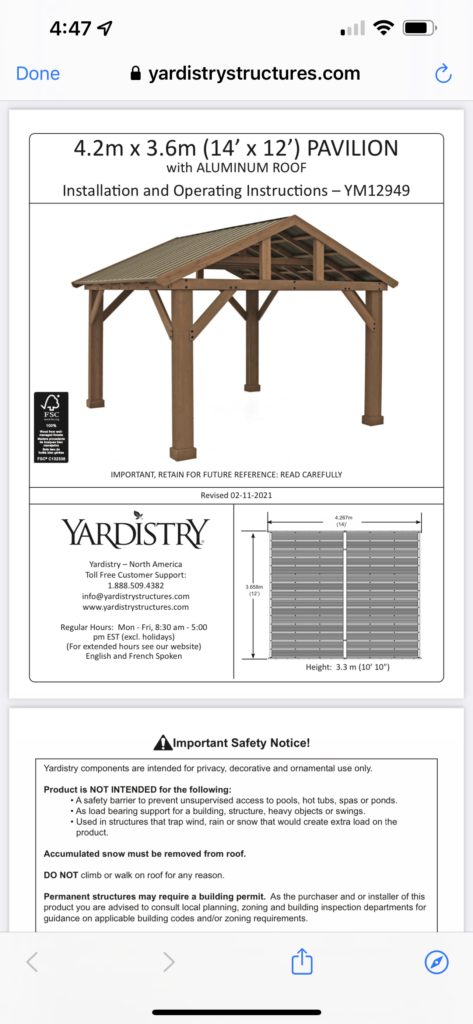
This year I decided to purchase and install something more permanent. I bought a kit from Costco — sight unseen, but it had good reviews and the price was decent at $1,599, which was $400 off the normal price, with free delivery. It was massive: it came in 3 boxes and weighed 800 lbs.
Getting It Installed
Not being very handy, I needed to figure out how I was actually going to get this thing installed after it showed up. Several friends offered to help, so I knew that was an option. I checked with Costco, and they wanted over $1,000 to install it. Checking around for companies that could do the job showed similar pricing — $1,000 and up. I decided to go it alone, with help from my friends when they were available.
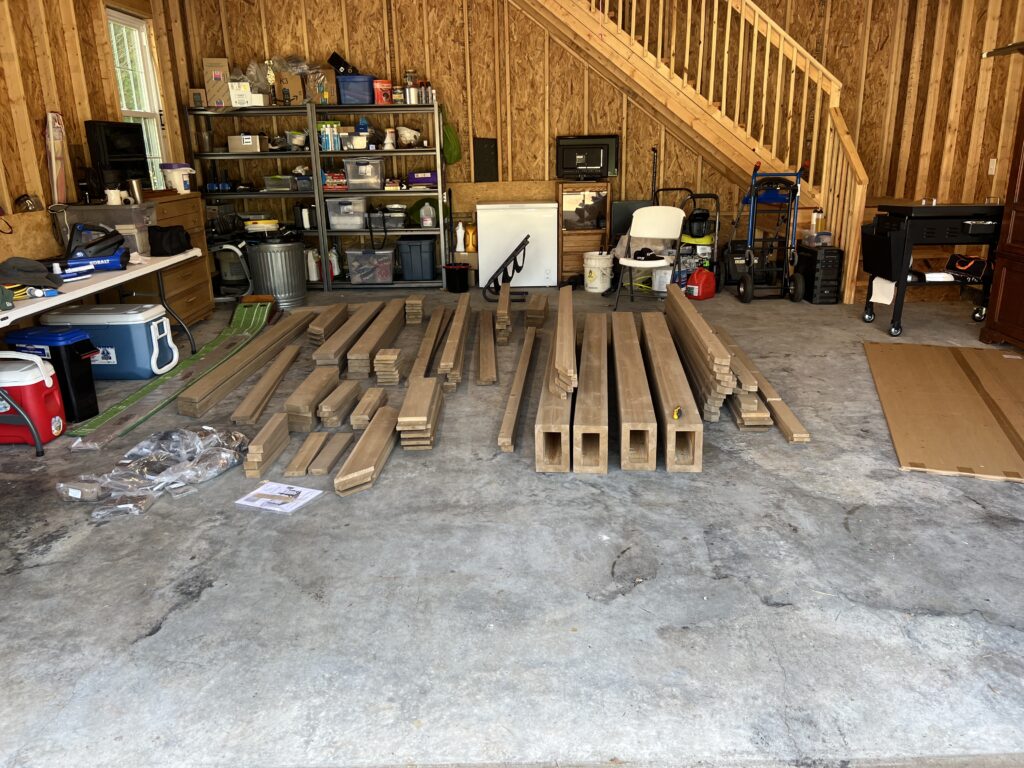
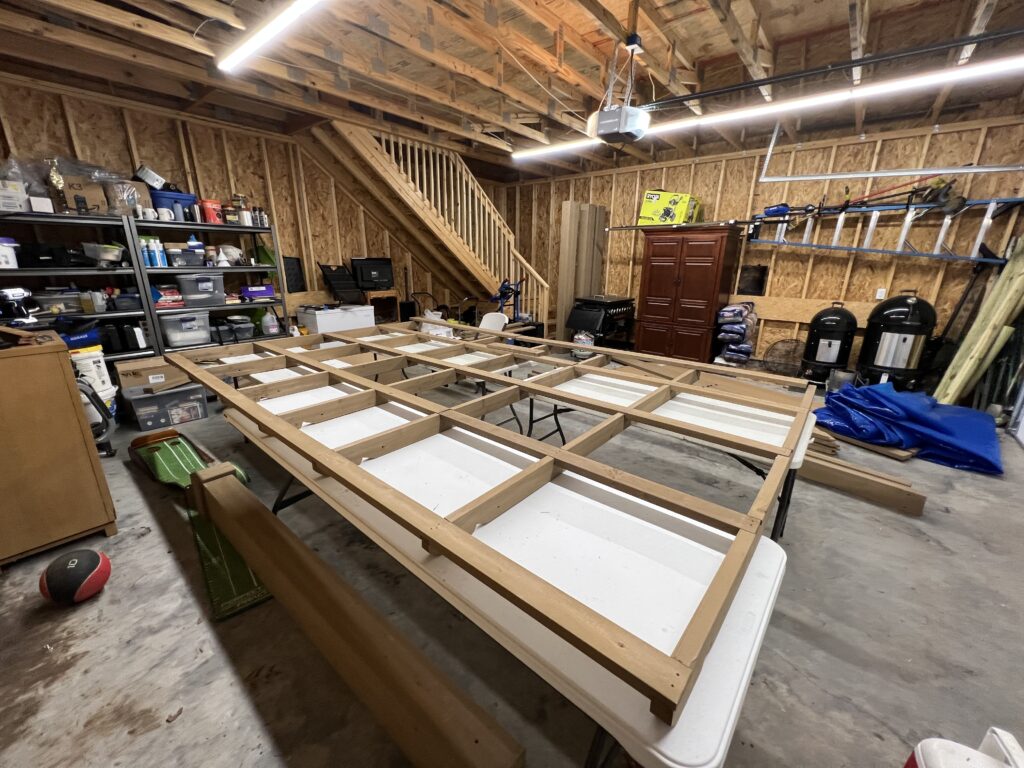
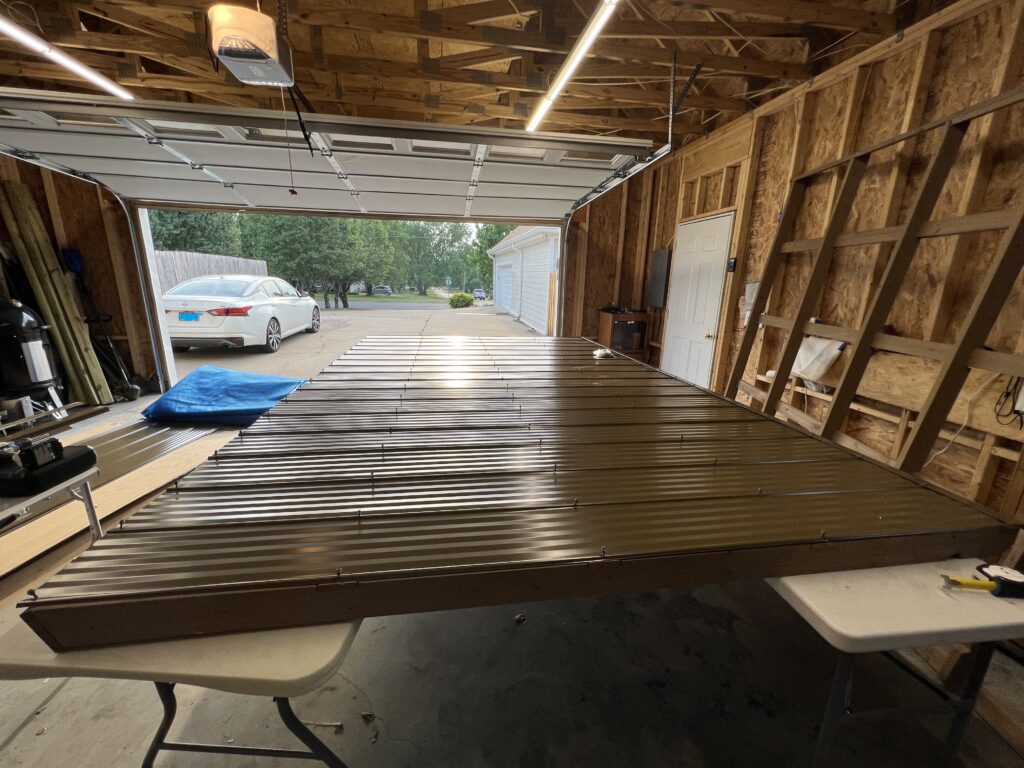
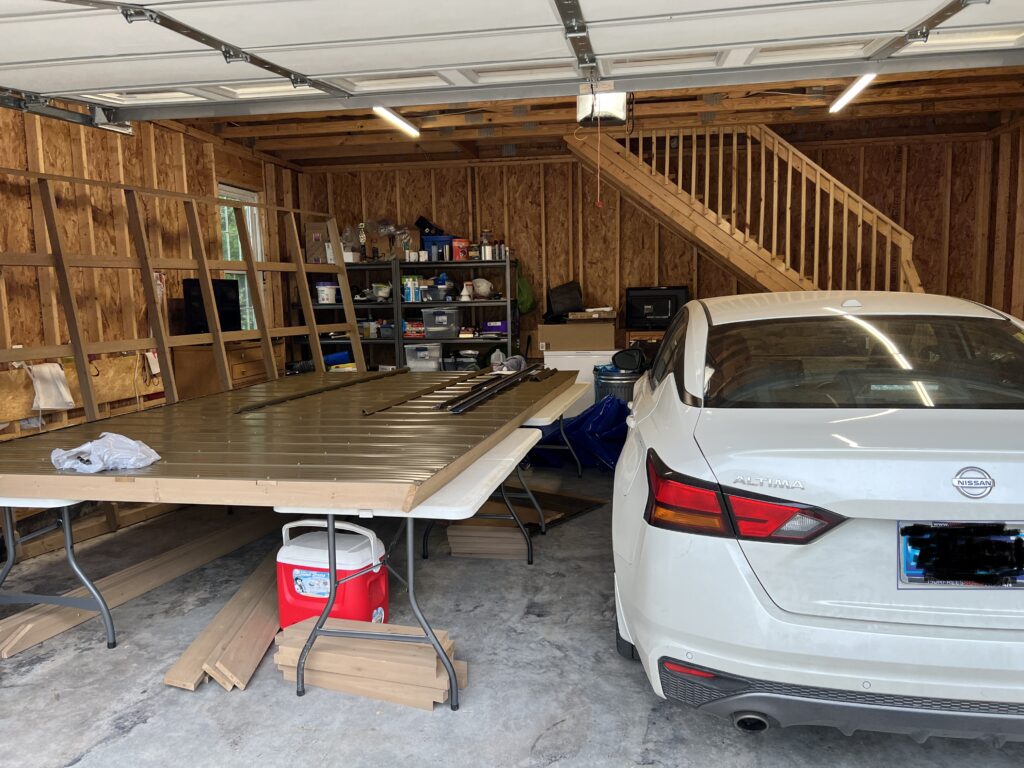
I have two garages, an attached and a detached. In the detached one, I opened everything up, inventoried it, and verified it was all there before I started.
Assembly
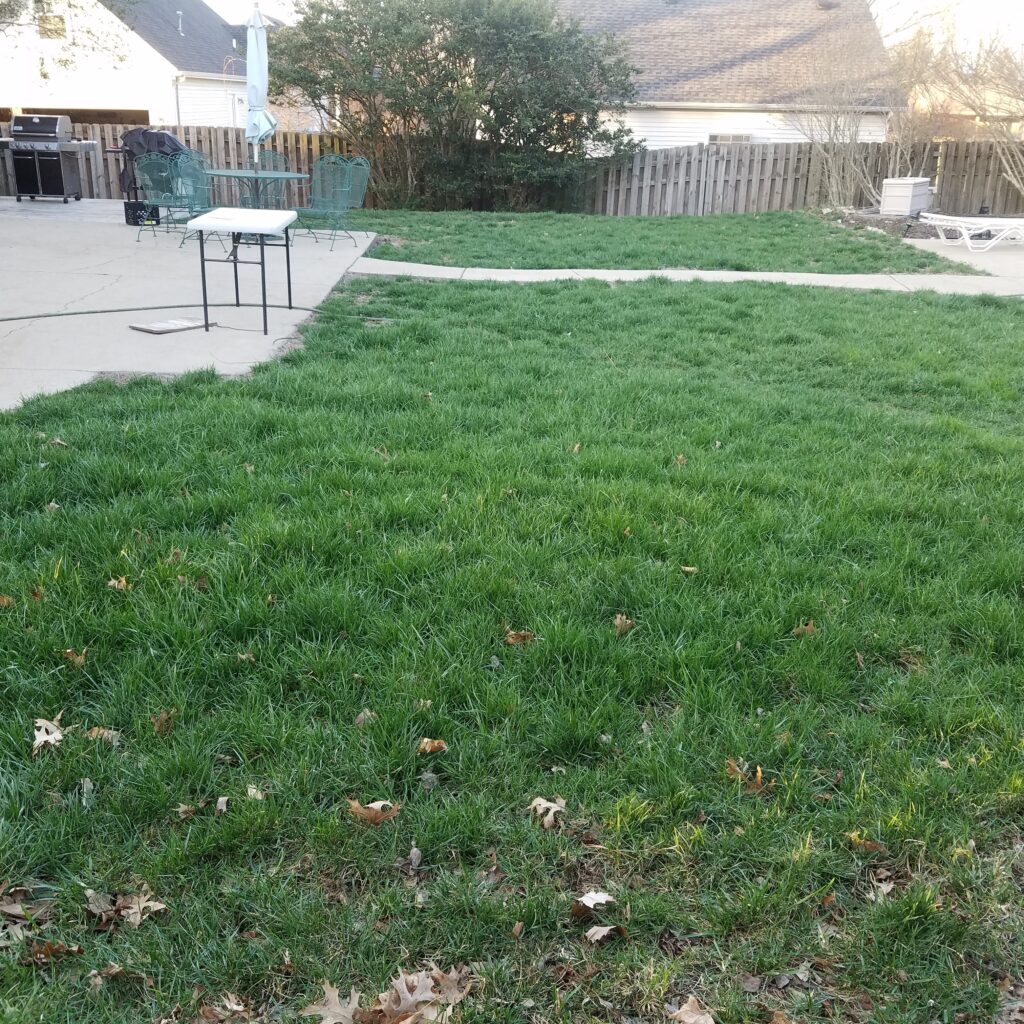
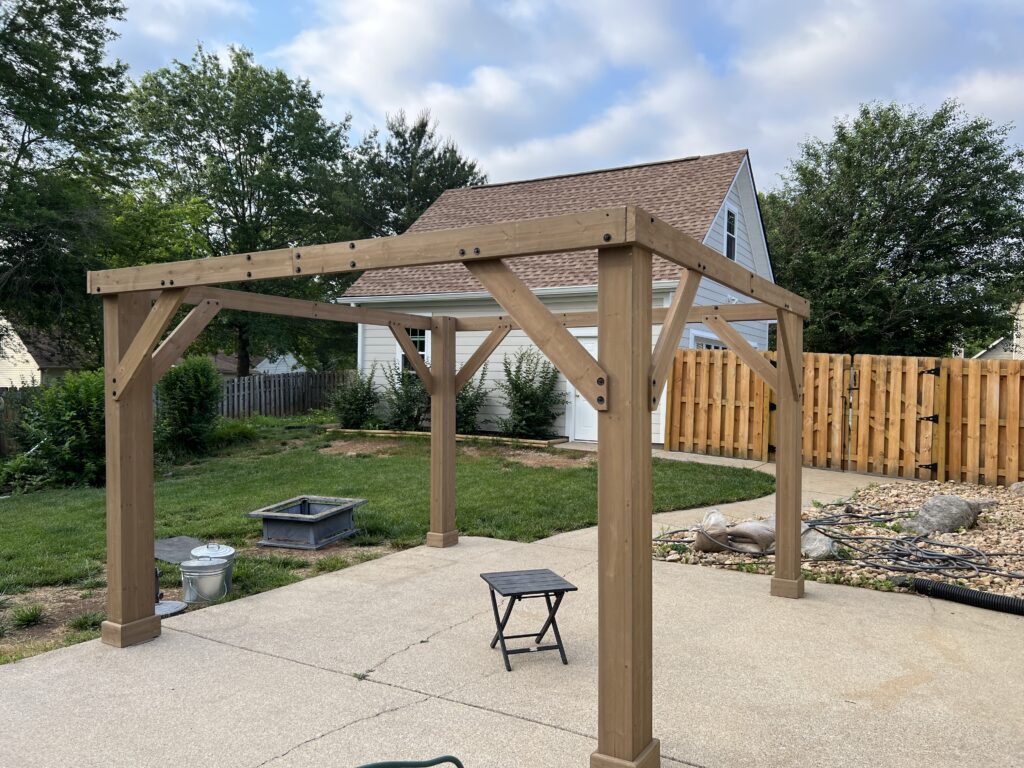
The instructions were pretty good, and there were videos too that clarified some of the finer installation details. I started by assembling the beams so I could figure out exactly where I wanted it — I’m lucky to already have a patio in place that was big enough for the structure.
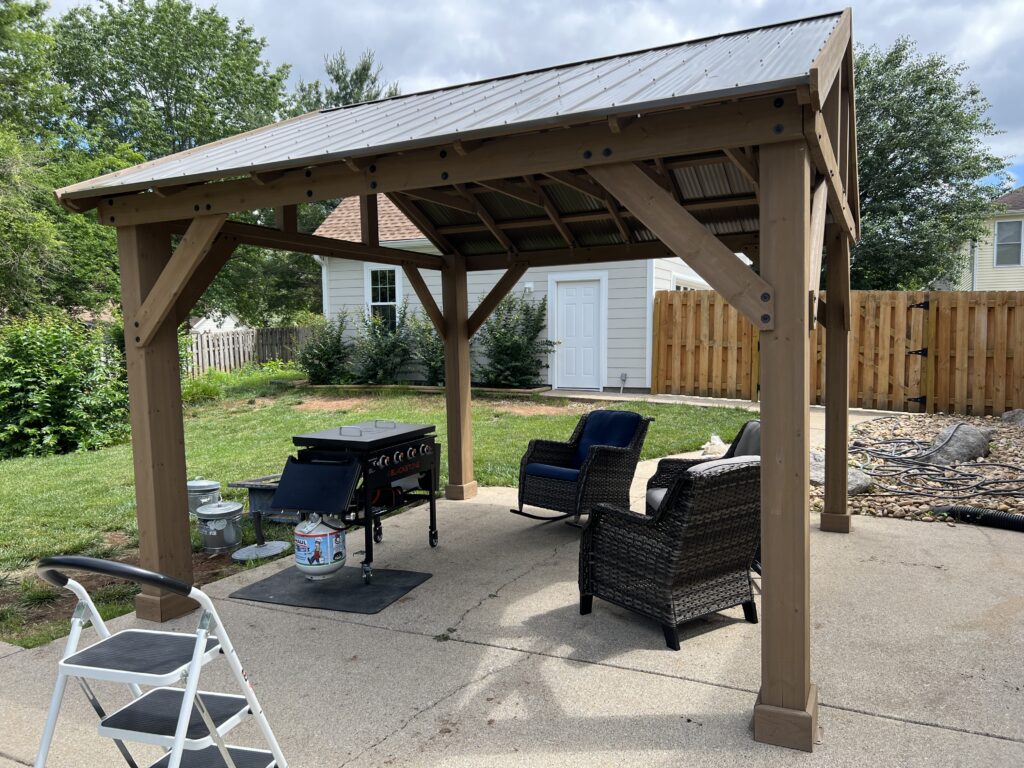
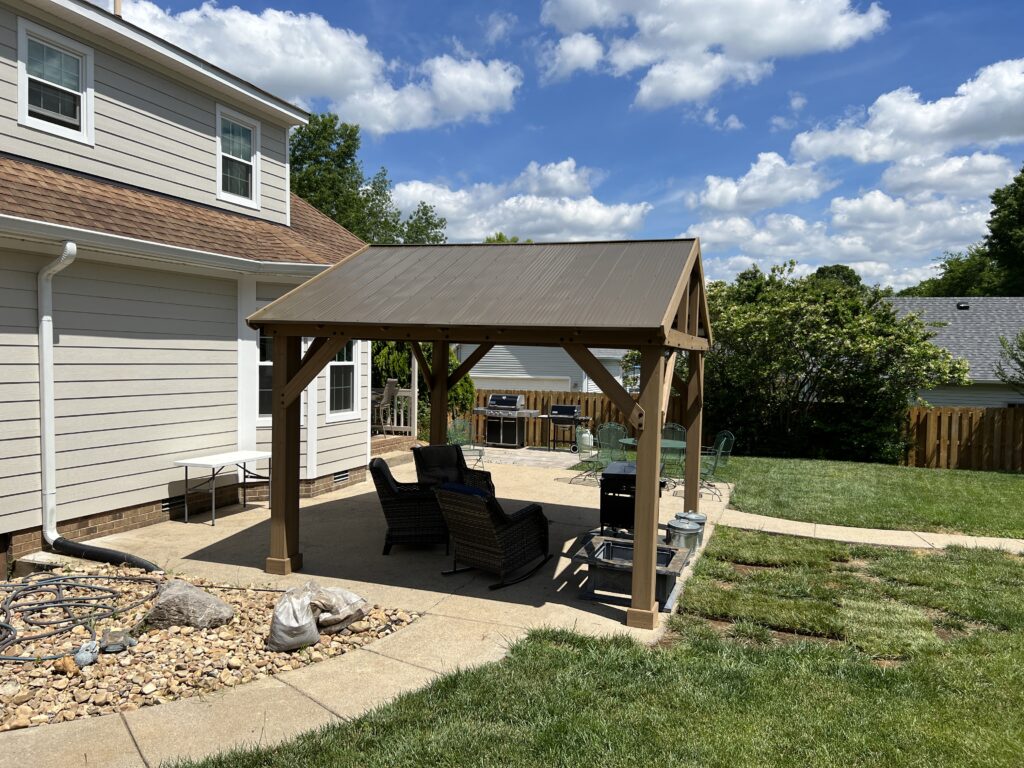
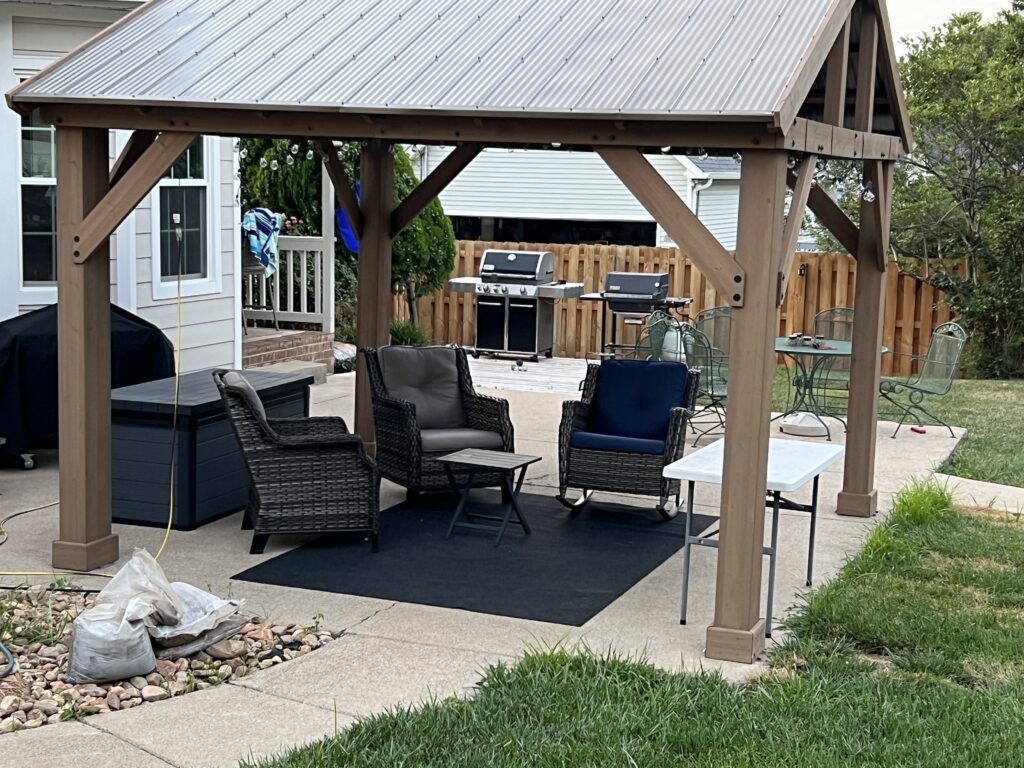
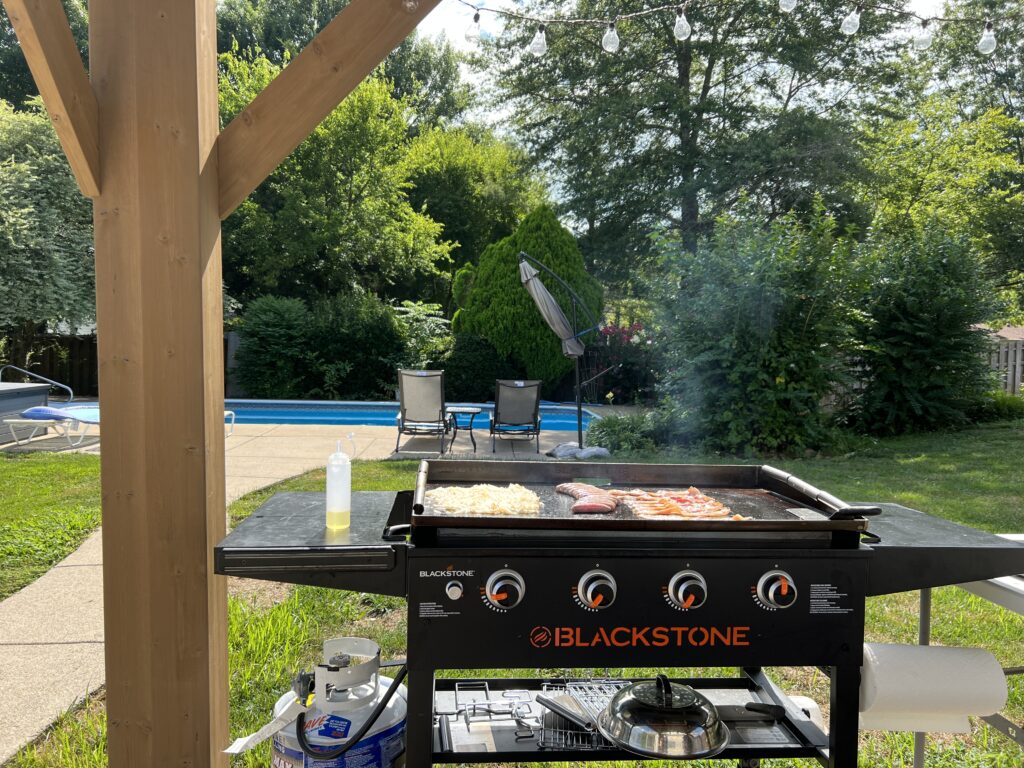
The Result
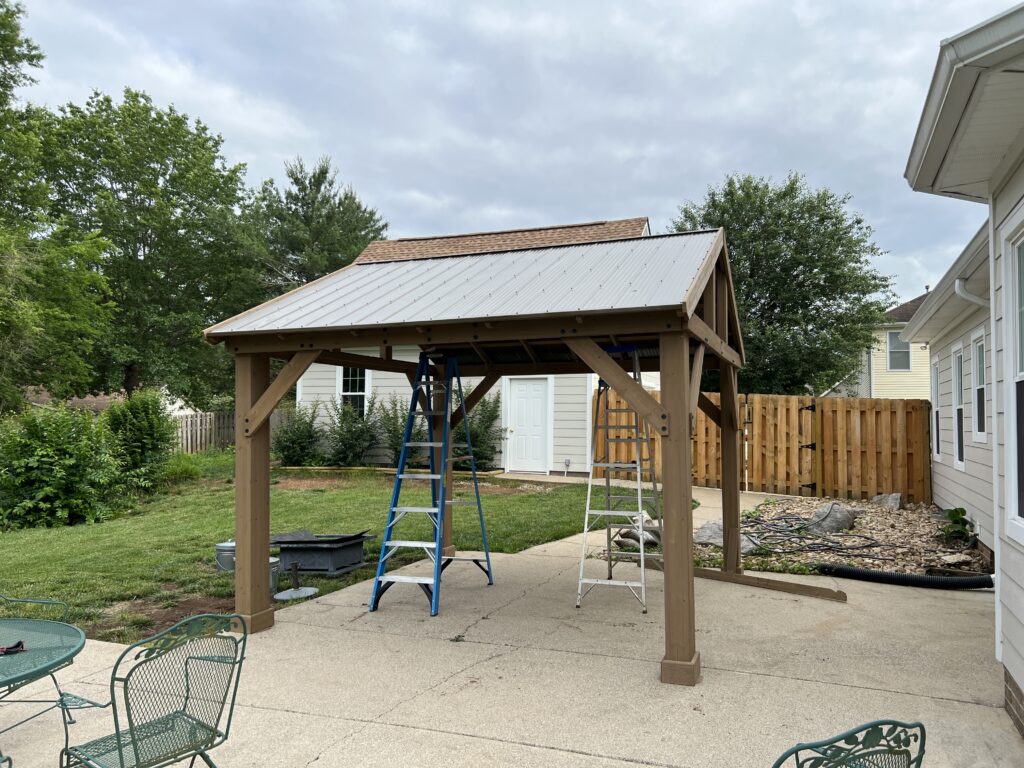
The pavilion turned out better than expected — it’s large, it’s very sturdy, and I’ve already cooked a lot of things under it. It’s also just nice having a shaded area in the backyard now.
Four Years Later
Four years later, the pavilion has worked out great. I’ve had no structural problems, and the roof has never leaked. It has done exactly what I wanted it to do — provided a covered area in the backyard that I can cook under or just use for shade.
Wind hasn’t been an issue either, but that was something I planned for during the installation. I intentionally anchored all four posts directly into the concrete with 16 Tapcon screws — four per post — because I didn’t want to worry about the structure moving when the weather got bad. Four years later, that decision has worked out exactly as intended.
Winter does create one minor headache. When we get snow, getting it off the roof can be a little difficult because of the size and height of the structure. It hasn’t caused any problems with the pavilion itself; it’s just something I have to deal with when the snow comes.
The one issue I didn’t anticipate was carpenter bees. They apparently like the soft wood as much as I do, and they’ve drilled into parts of the structure over the years. That’s really the only unexpected problem I’ve had with it.
Overall, I’d make the same decision again. After four years with no leaks, no structural problems, and no issues with wind, the pavilion has worked out about as well as I could have hoped.