Early in my sous vide journey, I watched a lot of content from a YouTube channel called Sous Vide Everything. I learned a lot from it early on and refined what worked best for me using this method. Some cuts turn out incredible sous vide; others, in my opinion, aren’t worth the extra effort. The one cut they always raved about was picanha — a sirloin cut with a top fat cap. The main advantage of cooking it this way is getting a perfectly cooked piece of meat edge to edge, with that fat cap rendering down beautifully in the process.
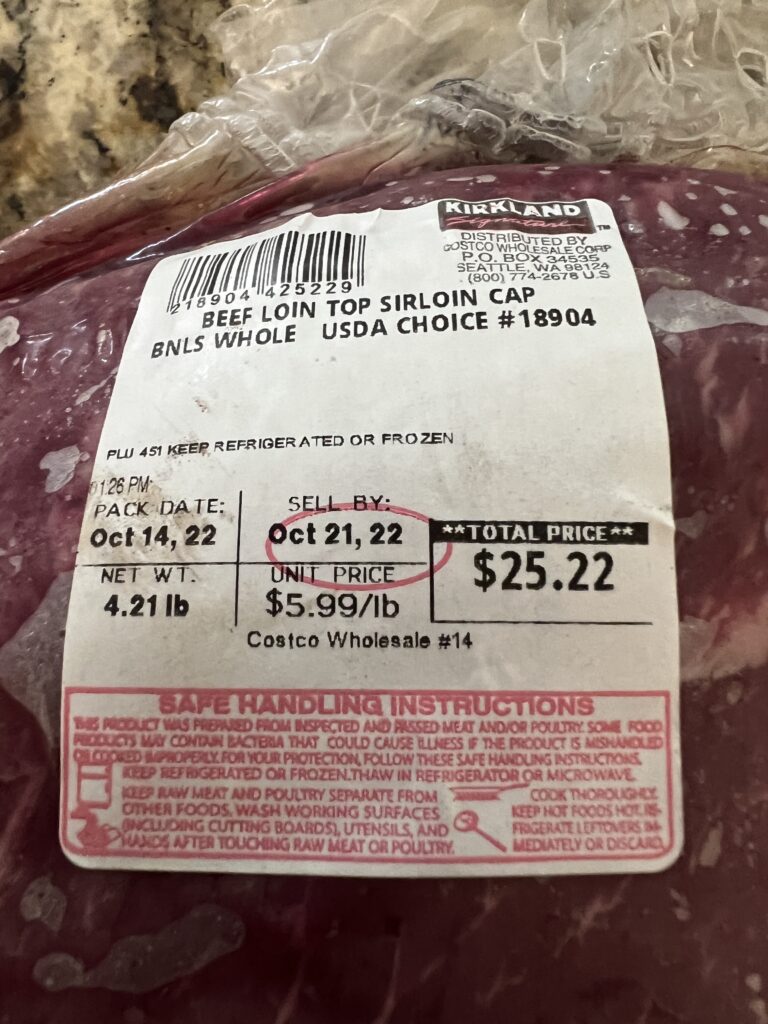
I’d never seen it sold at my local Kroger, Publix, or Sprouts. I’d seen it at Costco a few times before, priced around $40, but this time I finally pulled the trigger — and got it for $25.
Prep and Sous Vide
The recommended preparation is to season, then sous vide — you can do this in a ziplock bag, a reusable bag, or a vacuum sealed bag; I’ve always used vacuum sealed. There turned out to be two pieces in the package. I seasoned both with garlic powder, black pepper, and salt, sealed them separately, cooked one, and froze the other.
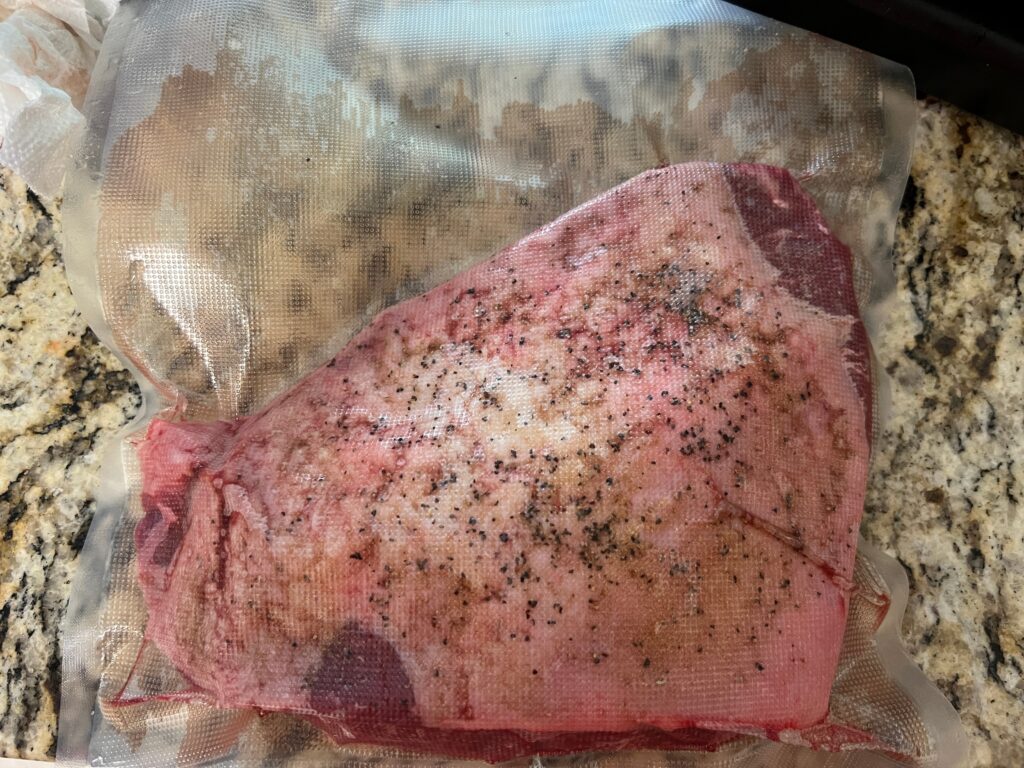
There are different schools of thought on temperature, but I went with 134°F. Based on the time I had, I let it go 6 hours in the water. Temp determines how done the final product is; time in the water determines how tender it gets. The main objective is getting that fat cap to fully render.

The Sear
The final step is searing the meat after it comes out of the bath. I’ll admit, it’s not very attractive coming out of a vacuum bag after 6 hours in the water.
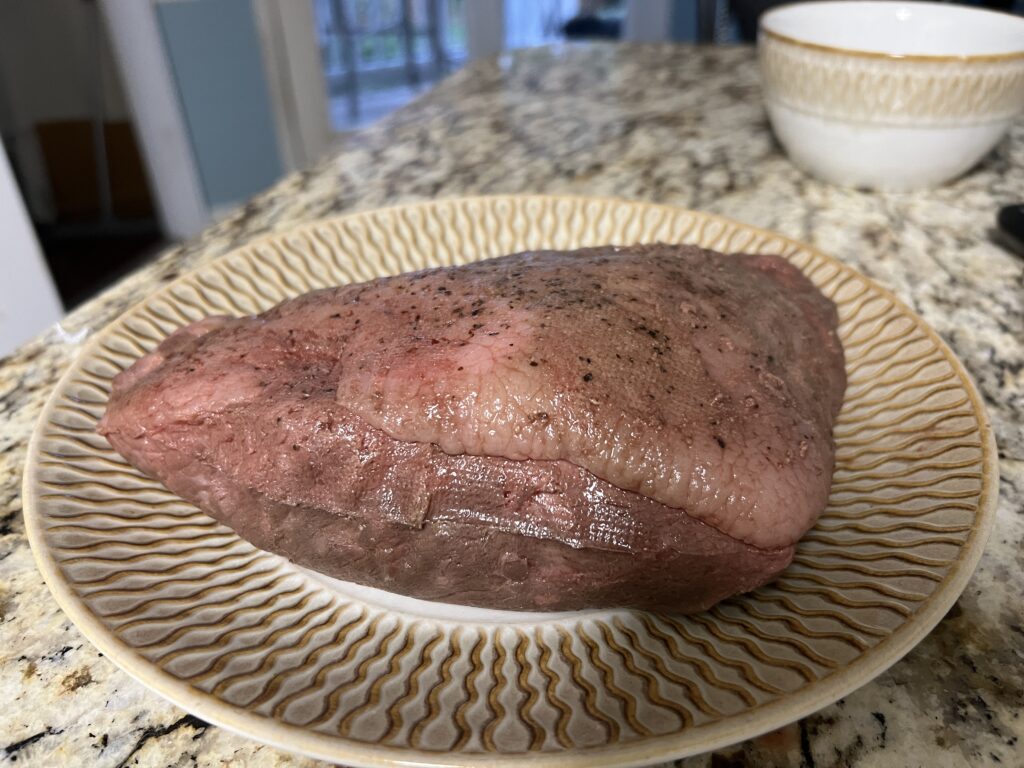
There’s a real risk of overcooking a piece of meat that’s already been precisely cooked to 134°F. To prevent that, I ran the bag under cold water right after pulling it, to bring the temperature down before searing.
There are several ways to sear — a propane torch, a screaming hot cast iron pan, the oven broiler. I used my Weber propane grill’s searing option, let it get up to 600°F, then dropped the picanha on.
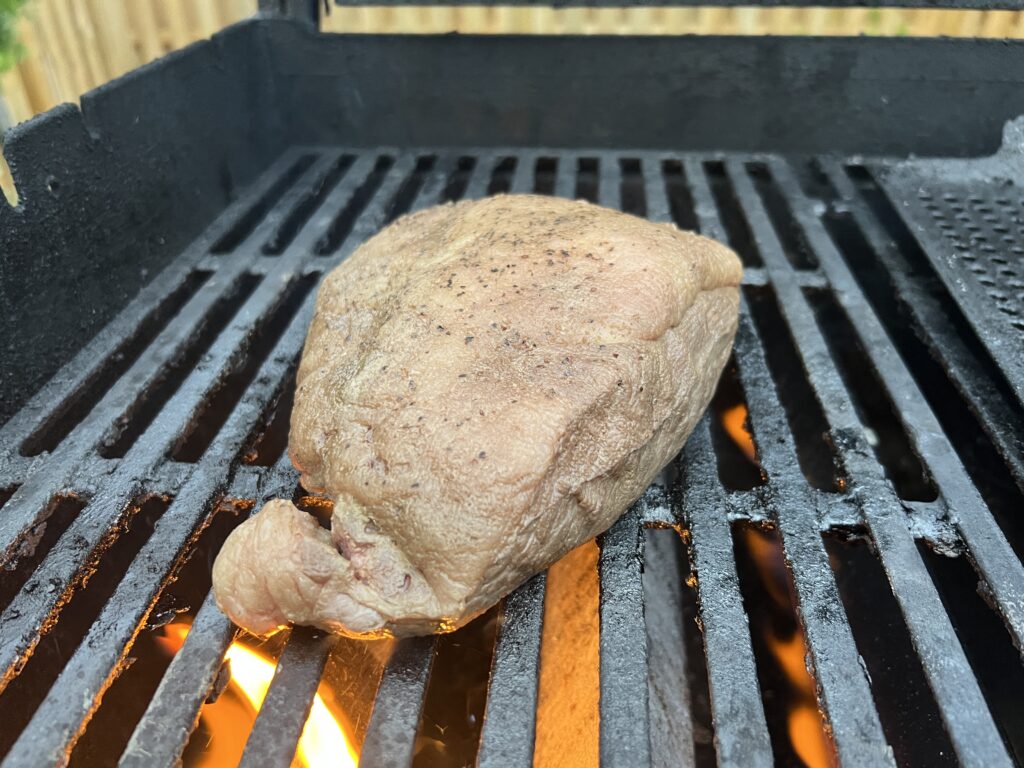
The sear took about 3-4 minutes, flipping every minute to build a good char.
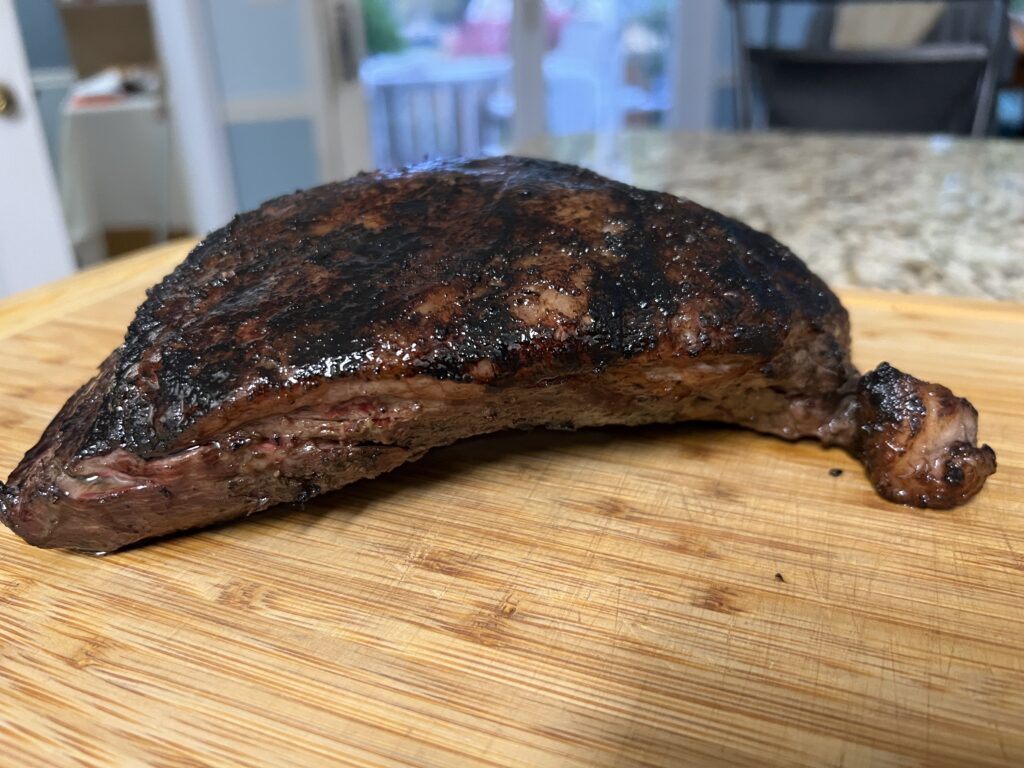
Result
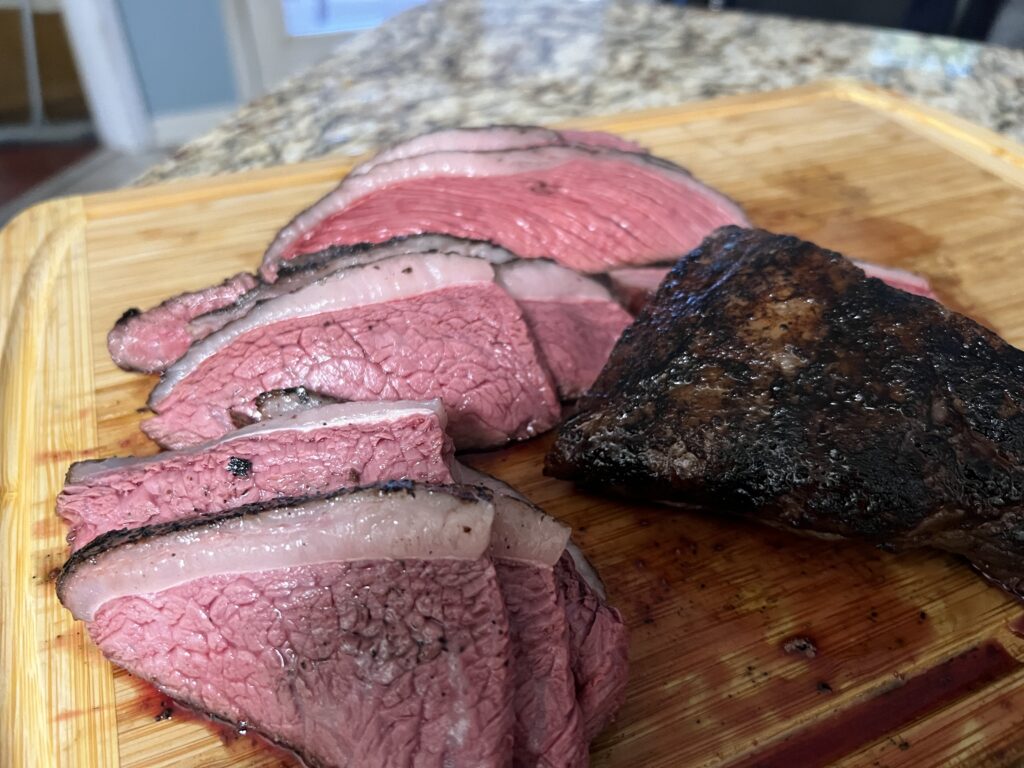
I let it rest about 5 minutes before slicing. The results were better than expected — fantastic, cooked perfectly, and so tender. I’m already looking forward to cooking the second piece I froze.
Want to see this same pure sous vide approach on a more everyday cut? Check out my Smoke Free Sous Vide Strip Steak post. Sous Vide Strip Steak